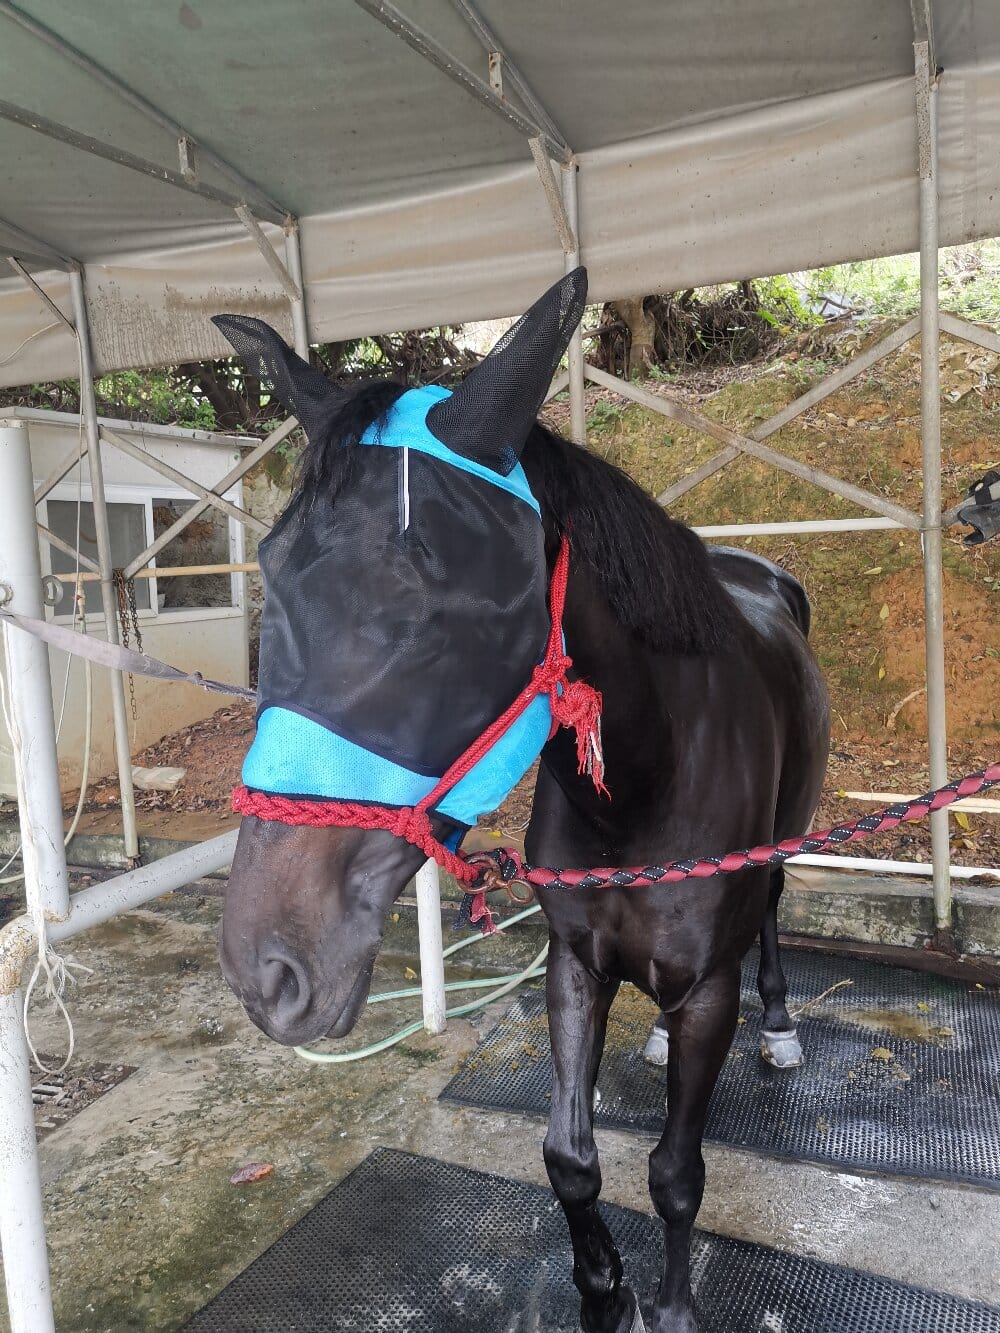

When you lead your horse out on a sunny, buzzing afternoon, the first piece of equipment you likely reach for isn’t the saddle—it’s the protective gear that shields your equine partner from relentless insects. A horse fly mask is more than a fashion accessory; it is a scientifically designed barrier that prevents flies, gnats, and UV rays from damaging your horse’s eyes, face, and sensitive skin. To maximize its effectiveness, you need a methodological approach to selection, fitting, and maintenance. This guide will walk you through that process step by step, ensuring you make an informed decision that prioritizes your horse’s welfare above all else.
Assessing Your Horse’s Specific Environmental Risks
Before you purchase any protective gear, you must first conduct a risk assessment of your specific environment. Are you dealing with stable flies that bite at the legs, or is the primary threat from face flies that seek out moisture around the eyes? You should also consider pastures with tall grass, which harbors more insects, versus dry, exposed paddocks. In your analysis, observe your horse’s behavior. Is he constantly rubbing his face on fences? Does he shake his head aggressively? If you answer yes to either, then a fly mask becomes a non-negotiable necessity. Furthermore, consider the sun’s intensity. For horses with white faces or pink skin around the eyes, UV protection is critical to prevent squamous cell carcinoma. Thus, your methodology starts with a simple checklist: insect pressure, your horse’s skin pigmentation, and the local climate.
Key Material and Design Features You Must Evaluate
When you begin comparing different models, you must look beyond the price tag. The primary material should be a durable, breathable mesh—typically polyester or a textile blend—that allows for excellent airflow while still being fine enough to block insects. You must ensure the mesh density is high, because if you can easily see through it from a meter away, then gnats and no-see-ums will also find their way through. Here is a structured list to guide your evaluation:
- Vision Clarity: Look for a “no-contact” or “semi-rigid” cup design that keeps the mesh away from the cornea and eyelashes, preventing irritation and allowing unimpeded binocular vision.
- Secure Fastenings: You need adjustable hook-and-loop closures at the crown and cheek. A poorly fitted mask will slip or rotate, causing chafing and reducing its efficacy.
- Seam Construction: Check for soft, rolled edges or fleece padding around the ears and nose. Raw seams are a primary cause of rubs and hair loss.
- Shear Strength: A good mask should have a breakaway feature or be made of ripstop material, so if your horse catches it on a branch, it tears away safely rather than trapping him.
Step-by-Step Fitting Methodology for Optimal Protection
Now that you have chosen a mask based on the criteria above, you must master the fitting process. Begin by gently introducing the mask to your horse in a quiet space. You should adjust the crown piece first, ensuring it sits just behind the ears without pinching the poll. Next, fasten the cheek closures. The rule of thumb is that you should be able to slide two fingers flat beneath the cheek strap, but no more. Then, inspect the eye cups. You must visually confirm that the mask allows your horse to blink fully and that no eyelashes are pressed against the mesh. Finally, conduct a “turnout test” for thirty minutes. After this, remove the mask and check for pressure points—you are looking for indentations or damp, sticky spots. This iterative process is vital for long-term acceptance.
Maintenance, Hygiene, and Rotation Strategies
Your methodology does not end with proper fitting; daily sanitation is equally critical. A dirty mask becomes a breeding ground for bacteria, especially around the eyes. You should brush off dried mud and manure daily using a soft-bristled brush. Washing instructions are crucial here; you must use a mild, residue-free detergent and cold water, then allow the mask to air dry completely in the shade. Never use a dryer, as heat will warp the mesh and shrink the straps. In your routine, you should also rotate between two masks, allowing one to dry thoroughly while the other is in use. This prevents fungal infections and extends the product’s lifespan significantly.
Seasonal Adaptation and Conclusion
As seasons change, your approach must adapt. For instance, you might use a standard mask in spring but switch to a “fly mask with ears” during summer when biting midges are prevalent. Conversely, during autumn, when UV rays are less intense, you might switch to a lighter, lower-profile model. In conclusion, choosing and using this essential gear is a systematic process. By rigorously assessing your environment, scrutinizing materials, fitting precisely, and maintaining hygiene, you create a protective shield that significantly enhances your horse’s comfort and visual health. Remember, the goal is not just to block a fly, but to provide a stress-free turnout experience. With this methodology, you ensure your horse remains calm, healthy, and happy throughout the pest season.