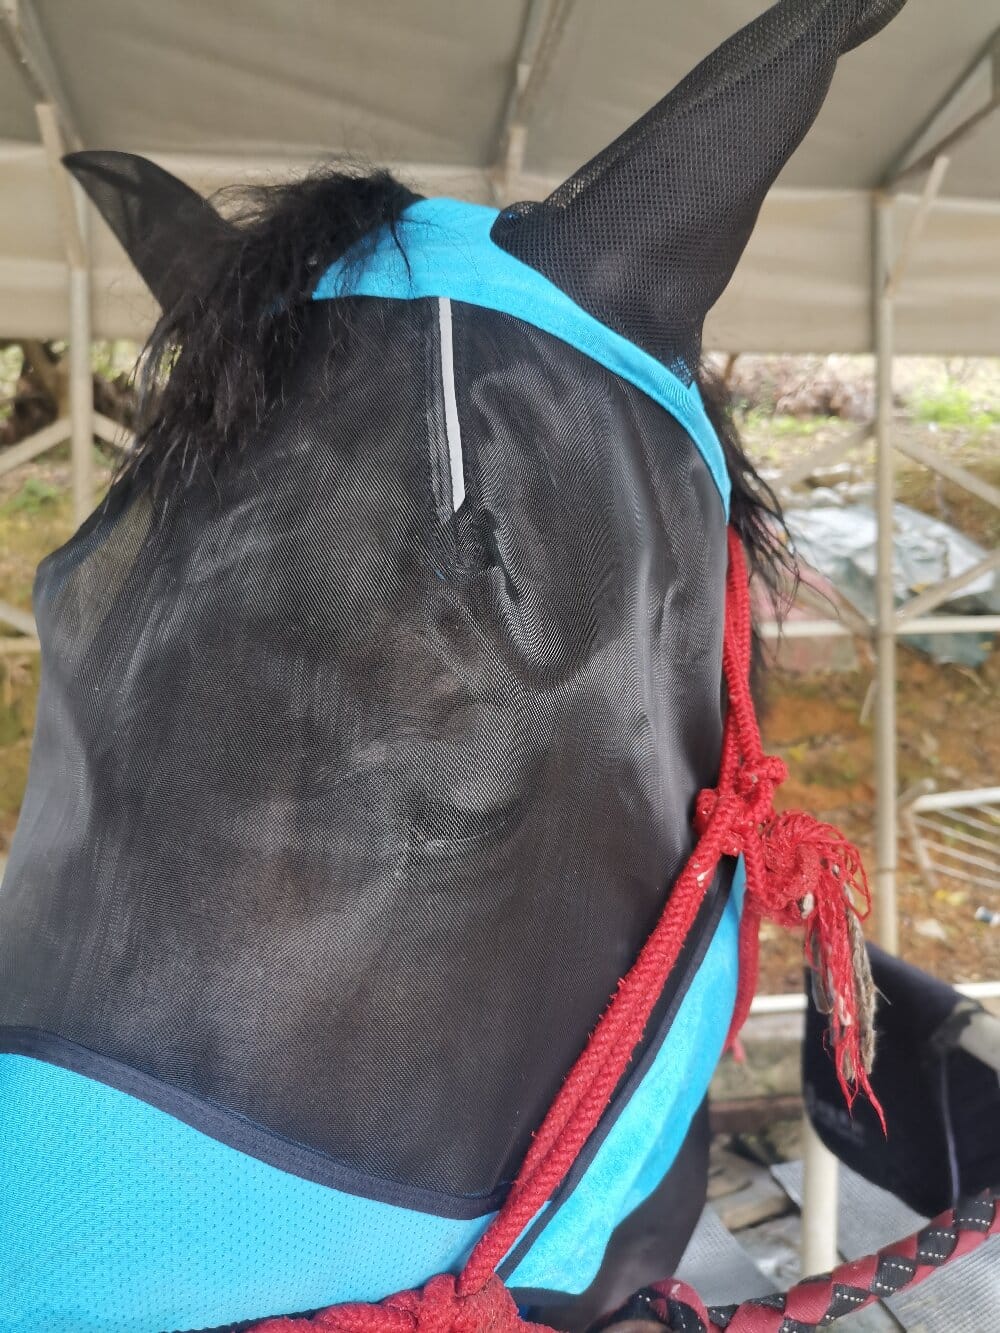

I’ll admit it: I used to think a horse fly mask was just a piece of mesh you slapped on your horse’s face and forgot about. That was before I spent a summer watching my mare, Juniper, stomp, toss her head, and rub her face raw against the fence. The flies were relentless, her eyes were streaming, and I was out of ideas. So I started treating fly protection like a proper methodology — a repeatable, testable system — rather than a one-off purchase. What follows is the approach I now use, and why it finally worked for us.
My first mistake was buying a horse fly mask before I understood the problem. Methodology means gathering data first. For two weeks, I noted when Juniper was most bothered (dawn and dusk, mostly), where she was grazing (near the pond, always), and what she did about it (head-shaking, face-rubbing, constant tail swishing). I also checked her eyes and ears for irritation and watched how other horses in the paddock reacted.
That simple log changed everything. I wasn’t guessing anymore. I knew the pressure points: eyes, ears, muzzle, and the poll behind the ears. A face fly mask needed to cover all four without rubbing, and it needed to stay put during turnout, not just during a five-minute grooming session.
Choosing a Horse Fly Mask: A Step-by-Step Method
Once I had my notes, I built a short, repeatable checklist. Here’s how I evaluate any fly mask for horses now:
- Measure the face, not the breed. I use a soft tape from the poll to the end of the muzzle, plus the width across the cheekbones. Sizes vary wildly between brands, so the label means less than the numbers.
- Check ear design. Some horses tolerate ear covers; others panic. I test with a lightweight ear bonnet first. If Juniper shakes it off, I choose a mask with open ears and add a separate fly veil only if needed.
- Inspect the eye darts. The mesh over the eyes must sit away from the eyelashes. If it touches, you’ll get rubbing and discharge — the opposite of protection.
- Test the closures. Hook-and-loop straps are convenient but collect hair and dirt. Buckles last longer but take longer to fasten. I keep both on hand for different horses.
- Watch for 48 hours. The real test is turnout. I check for slipping, stretching, and sweat build-up behind the ears.
Materials and Fit: Where Most People Go Wrong
I’ve learned that the material matters as much as the shape. A good fly mask for horses typically uses a fine, breathable mesh that blocks UV rays without trapping heat. Cheap, stiff netting can cause rubs within a day. Soft, stretchy fabric around the edges reduces friction, and a fleece-lined noseband helps if your horse has sensitive skin.
Fit is a moving target. Horses lose and gain weight, grow or shed coats, and change headgear between seasons. I re-measure every spring and again in late summer. If the mask leaves red marks, it’s too tight. If it spins sideways, it’s too loose. The sweet spot is snug enough to stay put, loose enough to slide a finger under every edge.
Maintenance: The Step Most Owners Skip
Even the best fly mask fails if you don’t care for it. My routine is simple:
- Rinse the mask in cool water after heavy sweating or rain.
- Wash with a mild, horse-safe soap every two weeks.
- Air-dry flat, away from direct sun, to prevent mesh warping.
- Inspect straps and seams weekly for fraying.
- Rotate two masks so one is always clean and dry.
Since I started this method, Juniper’s face-rubbing has nearly stopped, and her eyes stay clear even on the worst fly days. The mask isn’t a magic bullet — you still need fly spray, good drainage, and manure management — but as part of a system, it works.
Conclusion
Treating a horse fly mask as one piece of a repeatable methodology — observe, measure, test, maintain — turned a frustrating summer into a manageable one. Stop guessing at sizes and styles. Watch your horse, write down what you see, and let the data choose the mask. Your horse’s face will thank you.