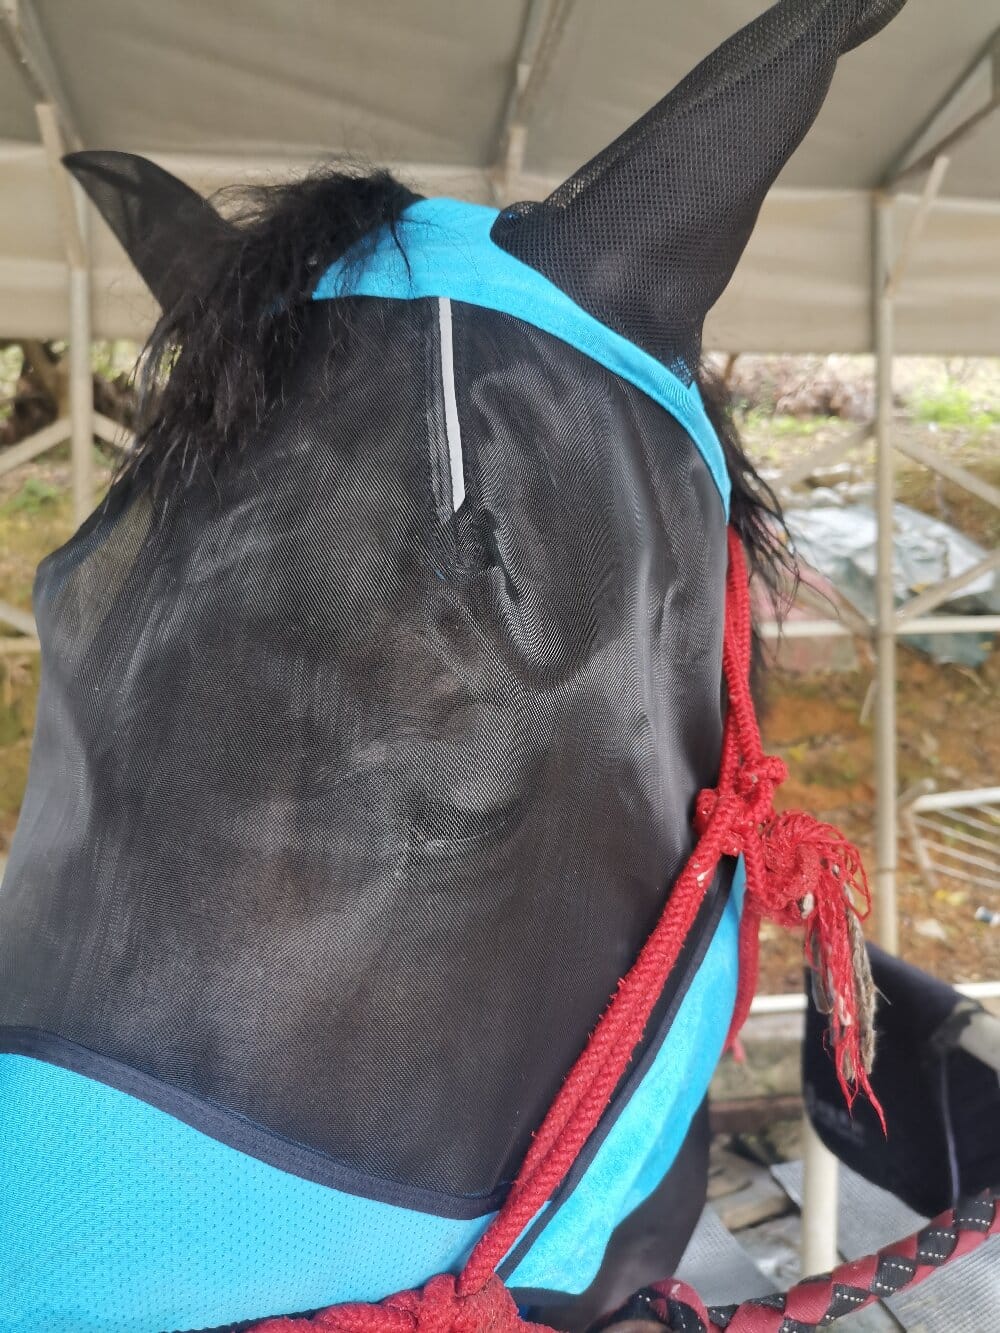

When the first warm days arrive and the stable buzzes with activity, I know the battle against flying insects has begun. My horse, like many others, is driven to distraction by horse flies, stable flies, and gnats. Over the years, I have developed a repeatable, step-by-step method for selecting, fitting, and maintaining a horse fly mask that actually works. This is not about guesswork or fashion. It is about observation, testing, and adjustment. If you want to protect your horse’s eyes and ears without causing rubbing or stress, you need a methodology. Let me share mine.
Step One: Assess Your Horse’s Specific Vulnerabilities
Before I buy anything, I spend a week watching my horse in the paddock. I note where flies land most: the corners of the eyes, the base of the ears, the muzzle. I also check for signs of photosensitivity or previous eye injuries. This assessment tells me whether I need a full-face fly mask with nose coverage or a simpler ear-and-eye design. Not every horse needs the same protection. A thin-skinned Thoroughbred may react badly to stiff mesh, while a hardy cob might need a wider fit. I write down three priorities: eye protection, ear comfort, and breathability. That list becomes my buying criteria.
Step Two: Choose the Right Horse Fly Mask Materials and Fit
My method relies on three material tests. First, I hold the mesh up to a light. If I can read a newspaper through it, the fly mask blocks less UV and offers less physical barrier. I prefer a dense but fine mesh that still allows airflow. Second, I check the binding. Soft fleece or rolled edges prevent rubs behind the ears and on the cheekbones. Third, I examine the fastener. Velcro straps degrade with mud and hair; I look for double-locking hook-and-loop or elasticized throat latches.
Fit is not optional. I measure from the top of the head, between the ears, down to the tip of the nose. Then I measure the circumference around the jaw. A horse fly mask that is too tight will cause head shaking; too loose, and it will slide sideways or catch on fence posts. I always introduce a new mask for ten minutes in a stall, then thirty minutes in a small pen. If I see rubbing, I adjust the straps or return the mask. This trial period is non-negotiable.
Step Three: Integrate the Mask into a Daily Grooming and Turnout Routine
A horse fly mask is not a set-and-forget item. My morning routine includes:
- Checking for debris (seed heads, burs) trapped inside the mask.
- Wiping the mesh with a damp sponge to remove sweat and dust.
- Inspecting the ears for ticks or bald spots.
- Rotating between two masks every other day to allow washing and drying.
I also pair the mask with fly spray on the body and a fan in the stall during peak fly hours. The mask handles the face; the rest of the strategy handles the legs and torso. Consistency matters more than any single product.
Step Four: Troubleshoot Common Problems Using a Methodical Mindset
If my horse rubs the mask off, I do not blame the horse. I check three things: size, strap tension, and field of vision. Sometimes a horse needs a different cut around the ears. Other times, the issue is that the mask traps heat, so I switch to a lighter color or a mesh with larger openings for summer. I keep a log of what works and what fails. Over two seasons, I have learned that my gelding prefers a detachable nose piece, while my mare needs a full-ear design. That is data, not opinion.
Conclusion: A Repeatable System Beats a Random Purchase
Using a methodical approach to horse fly mask selection and care has transformed my summer routine. I no longer waste money on masks that rub or fail. Instead, I assess, measure, test, and adjust. The result is a calmer horse, fewer vet visits for eye irritation, and more enjoyable rides. If you follow these steps, you will stop guessing and start protecting. Your horse will thank you by standing still for turnout, even when the flies are thick.