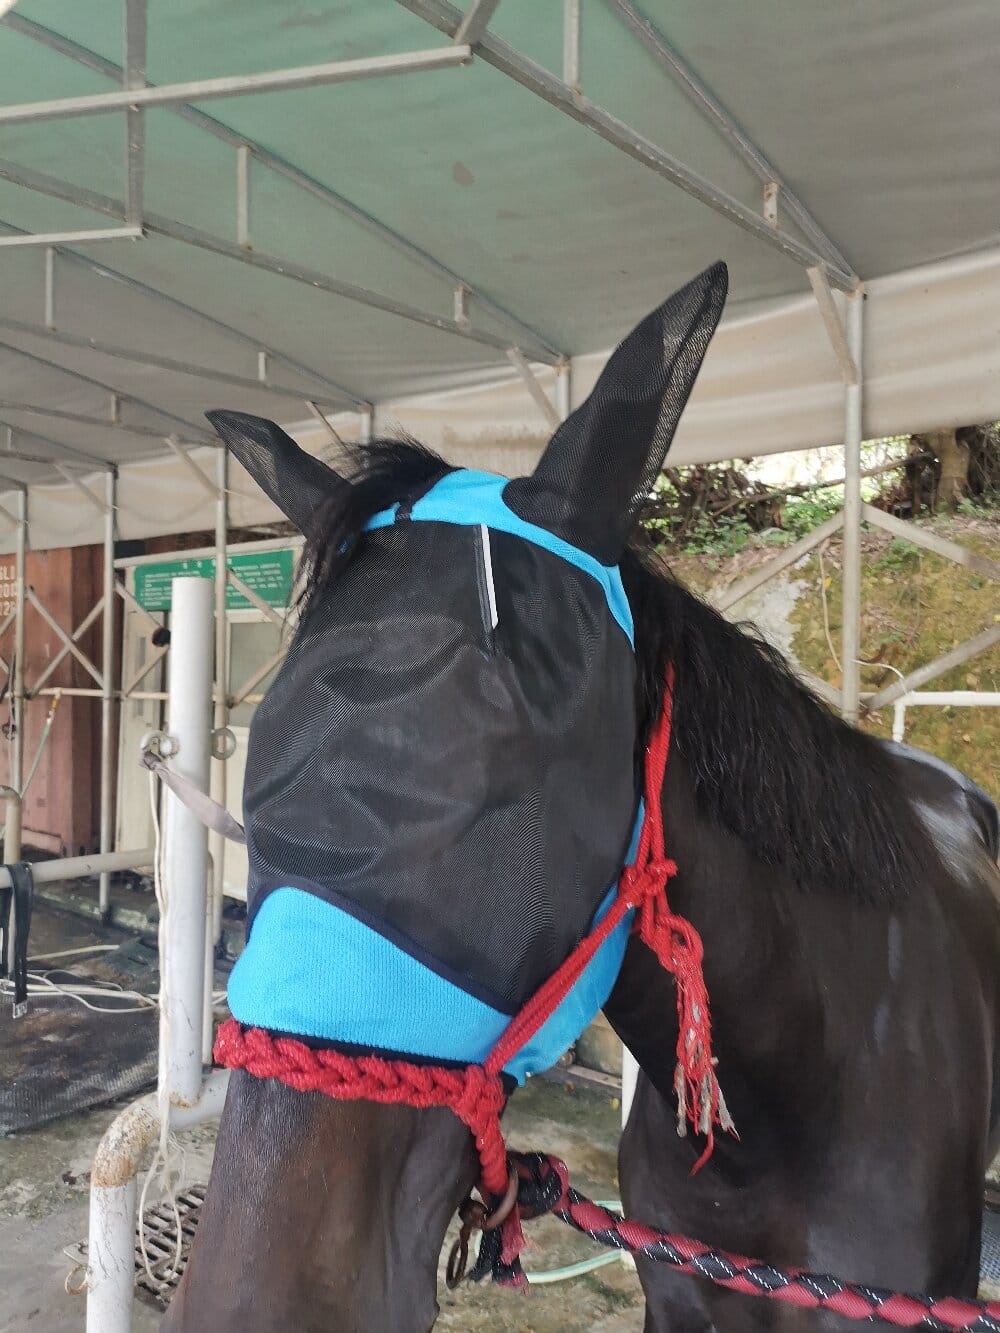

If you’ve ever watched your horse toss its head, stamp its feet, or rub its face raw against a fence, you already know how much flying insects can disrupt a day. A horse fly mask is one of the simplest, most effective tools you can add to your summer care routine — but only if you use it correctly. From a methodology perspective, protecting your horse is not about buying a single product and hoping for the best. It’s about following a repeatable process: assessing the threat, selecting the right mask, fitting it properly, maintaining it, and monitoring results. Here’s how to build that process step by step.
Methodology starts with observation. Before you shop, spend a few days noting when and where insects bother your horse most. Are flies concentrated around the ears and eyes during turnout? Do stable flies target the legs while face flies cluster near the muzzle? Different pests behave differently, and your mask choice should reflect that reality. Ask yourself:
- Which seasons are worst on your property?
- Is your horse turned out near water, manure, or wooded areas?
- Does your horse have sensitive skin, pale coloring, or previous eye injuries?
- How much time does the horse spend in a pasture versus a stall?
This baseline gives you something to measure against later, so you can tell whether the mask is actually reducing irritation or just adding equipment.
Step 2: Choose the Right Fly Mask for Your Horse
Not all equine face protection is created equal. When selecting a horse fly mask, evaluate materials, coverage, and design features against your assessment. Look for fine mesh that blocks tiny insects without trapping heat, soft binding at the edges to prevent rubs, and fleece-lined ear covers if midges are a problem. For horses with eye issues, a mask with a built-in brow band or eye darts keeps fabric away from the cornea. Size matters too: a mask that’s too small will press on the face, while one that’s too large will shift and expose the eyes. Measure from the poll to the muzzle and compare with the manufacturer’s sizing chart rather than guessing.
Step 3: Fit and Adjust with Consistency
Proper fitting is where most owners skip steps, and it’s where methodology pays off. Place the mask so the top edge sits comfortably behind the ears and the bottom clears the nostrils. Check the closures — most use hook-and-loop straps under the throat — and tighten them enough that the mask stays put but loose enough to slide a finger underneath. Walk your horse in hand, then watch it move in turnout. If the mask twists, rides up, or leaves rub marks within the first hour, adjust or exchange it. Repeat this fit check every time you put the mask on, because straps loosen and mesh stretches over time.
Step 4: Maintain and Inspect Daily
A fly mask is only as good as its condition. Build a short daily inspection into your routine: look for tears, stretched mesh, worn straps, and dirt buildup around the eyes. Rinse the mask with mild soap and water weekly, and let it air dry completely before reuse. Rotate between two masks if possible so one is always clean and dry. Replace any mask with broken closures or holes, since a damaged mask can rub or fail entirely when you least expect it.
Step 5: Monitor Results and Adjust Your Approach
Finally, close the loop. After a week or two, compare your horse’s behavior to your baseline notes. Fewer head shakes, less rubbing, and calmer turnout sessions mean the protocol is working. If irritation continues, revisit your assessment — you may need a different style, additional fly control, or a veterinarian’s opinion on underlying skin or eye problems.
Summary: Treating a horse fly mask as part of a structured method — assess, select, fit, maintain, and monitor — turns a basic piece of tack into a reliable protective system. Follow these steps consistently, and you’ll keep your horse more comfortable through fly season while getting real value from every mask you buy.