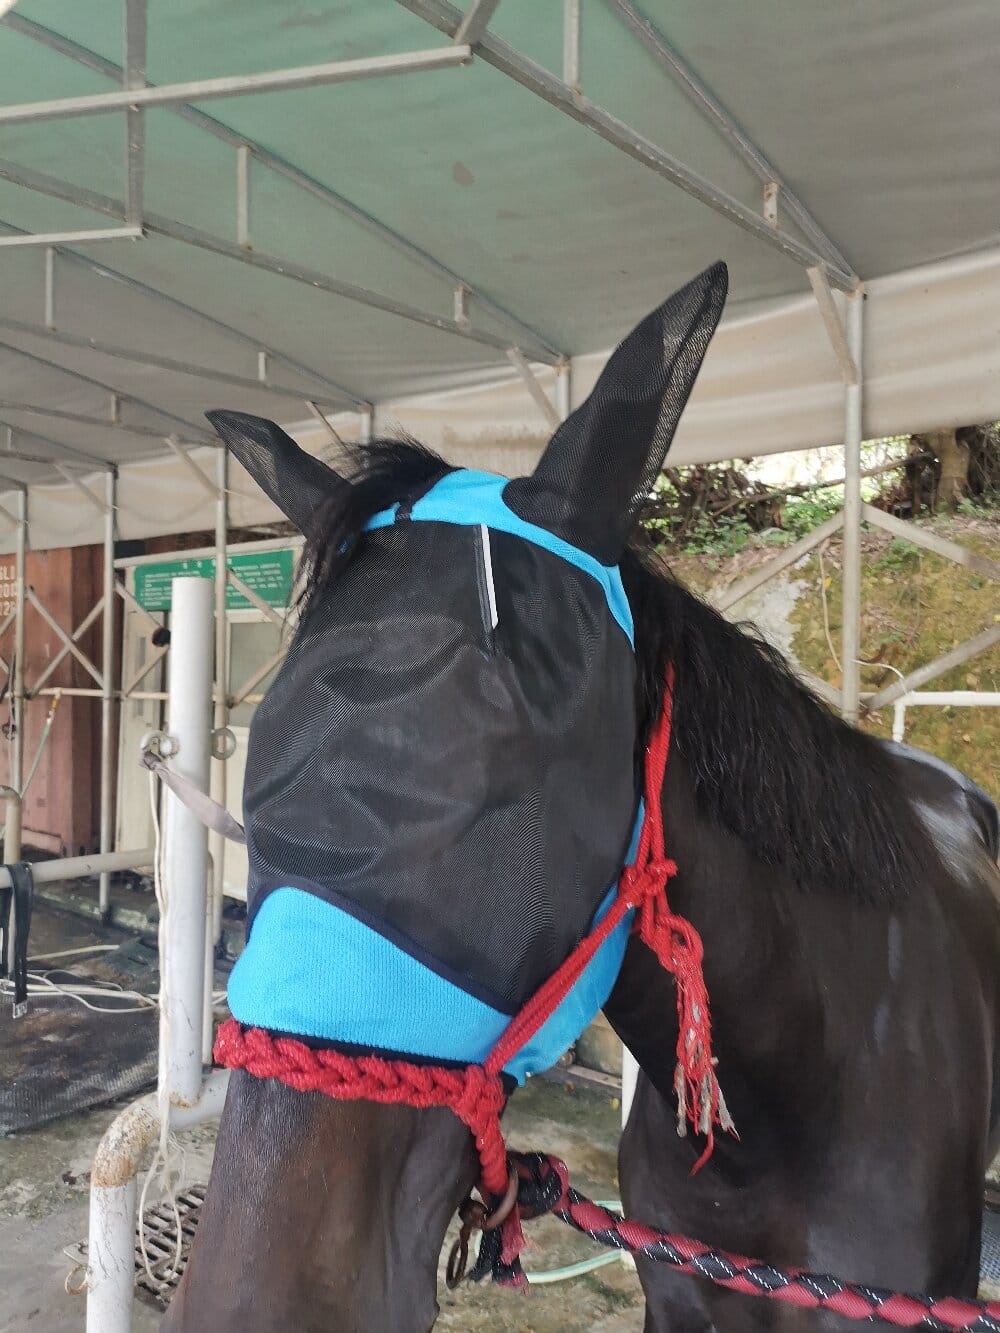

When I first started researching how to protect my horse from flies, I kept making the same mistake: buying a horse fly mask and expecting it to solve everything. Over time, I realized that effective fly control isn’t about any single piece of gear. It’s a methodology — a repeatable process of observation, fitting, maintenance, and adjustment. In this article, I want to walk you through the method I now use, because a well-chosen fly mask only works when it’s part of a thoughtful system.
Step One: Assess the Actual Fly Pressure on Your Horse
Before I shop for anything, I spend a few days observing. Different flies behave differently, and that matters for mask selection. Stable flies tend to target legs and the belly, face flies cluster around the eyes and muzzle, and mosquitoes and gnats go for thin-skinned areas like the ears and eyelids. I note the time of day the flies are worst, which parts of my horse’s face get the most attention, and whether my horse is rubbing, head-shaking, or squinting.
This assessment step is the foundation of the whole methodology. Without it, I’d be guessing. With it, I know whether I need a full-face mask, one with ear coverage, or a model with a nose fringe. I also check for any signs of eye irritation, because a mask should never be used to cover up an active problem that needs a veterinarian’s attention.
How I Fit and Test a Horse Fly Mask
Fitting is where most people — including me, early on — go wrong. A mask that’s too loose lets flies in around the edges and can shift during turnout. A mask that’s too tight rubs the brow band and the base of the ears. My method is simple and repeatable:
- Measure from the poll to the muzzle and compare against the manufacturer’s sizing chart.
- Check clearance around the eyes so lashes don’t brush the mesh.
- Confirm the ear openings sit comfortably without pinching.
- Watch the horse move, graze, and roll for the first hour of wear.
- Inspect for rub marks after every session for the first week.
I treat the first week as a trial period. If I see any redness or the mask spins sideways during turnout, it goes back. This testing phase is non-negotiable in my process.
Maintenance and Rotation: The Part Everyone Skips
A fly mask is only as good as its condition. Mesh tears, stretched bindings, and dirty fleece edges all reduce protection and increase the risk of rubbing. My routine involves rinsing the mask weekly in mild soap, air-drying it out of direct sun, and checking seams and straps for wear. I also keep two masks in rotation so one can dry while the other is worn.
Rotation has a second benefit: it lets me compare fit over time. Horses change weight and coat condition seasonally, so a mask that fit in spring may need adjusting by midsummer. I recheck fit monthly and replace any mask with compromised mesh, since a torn fly mask offers false confidence rather than real protection.
Combining the Mask With Broader Fly Control
No mask works in isolation. In my methodology, the mask sits alongside fly sheets, fans in the stable, manure management, and timed turnout away from peak fly hours. I also use fly repellents on the body and legs where the mask doesn’t reach. The mask handles the face; the rest of the system handles everything else. When these layers work together, my horse is calmer, grazes more comfortably, and shows far less head-shaking.
Conclusion
Treating fly protection as a methodology — assess, fit, test, maintain, and combine — has made a bigger difference for my horse than any single purchase ever did. A horse fly mask is a key tool in that process, but only when it’s chosen for the actual fly pressure, fitted carefully, checked regularly, and supported by broader management. Follow the steps, stay observant, and adjust as the season changes.