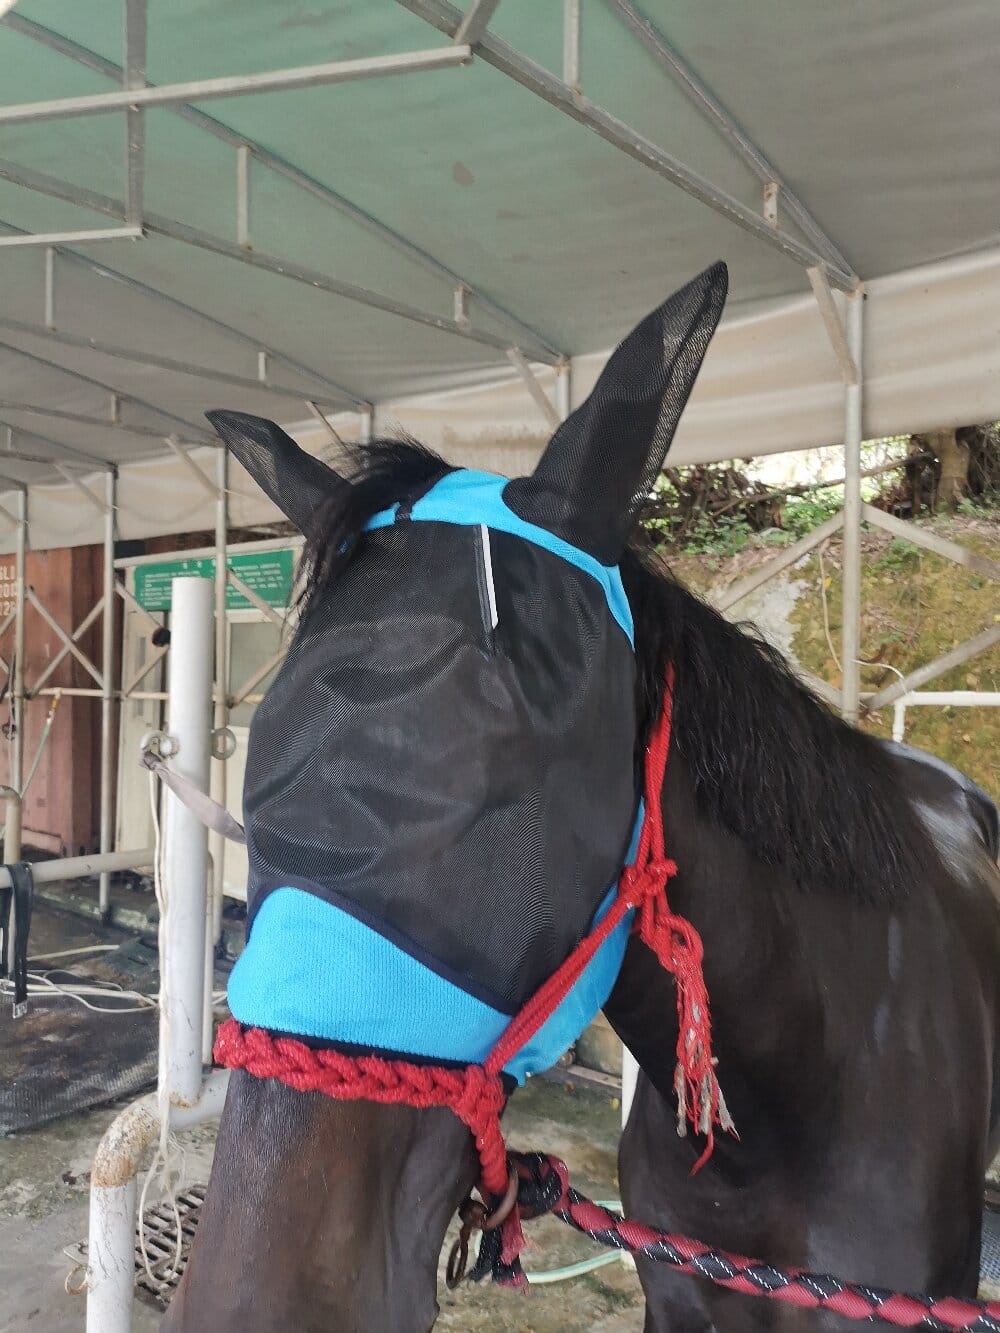

When I first started shopping for a horse fly mask, I made the classic mistake: I bought the cheapest mesh hood I could find, slapped it on my gelding, and assumed the job was done. Three days later it was hanging from a fence post, and his face was covered in bites. That experience taught me something important — selecting and using a fly mask is not a one-time transaction. It is a methodology, a repeatable system of observation, fitting, testing, and maintenance. In this article, I want to walk you through the exact process I now follow, because a thoughtful approach to fly protection makes a measurable difference in your horse’s comfort and skin health.
Step One: Assess Your Horse’s Specific Needs Before You Buy a Horse Fly Mask
Every horse presents a different problem set, and the methodology starts with diagnosis rather than shopping. I begin by observing where the insects actually target my horse. Is he bothered mostly around the eyes and ears, or are his muzzle and jawline the vulnerable zones? Does he have a history of uveitis, photosensitivity, or pink skin that burns easily? Each answer changes the specification.
I also factor in turnout conditions. A horse living in a sandy paddock with burr-filled hedges will destroy a delicate mesh mask in days, while a stabled horse needs something breathable and easy to remove. Before spending a penny, I write down three things: the problem areas, the turnout environment, and the horse’s temperament. This short audit prevents most of the returns and wasted money I see other owners complain about.
Step Two: Fit Is the Whole Game
Here is my firmest conviction: a fly mask that fits poorly is worse than no mask at all. Poor fit means rubbing along the cheekbones, mesh pressed against the eyelashes, and gaps at the throat latch where midges slip through. My fitting protocol looks like this:
- Measure from the poll to the end of the nose, then compare against the manufacturer’s size chart rather than guessing.
- Check clearance over the eyes — I want a finger’s width of space so the mesh never touches the eyeball.
- Fasten the throat strap and verify two fingers slide underneath comfortably.
- Watch the horse walk, graze, and shake for five minutes; any shifting or twisting means the fit is wrong.
I also prefer masks with adjustable touch-tape closures and fleece binding at pressure points, because these small design details dramatically reduce rub marks during long summer turnout.
Step Three: Field-Test and Inspect on a Schedule
Once a mask passes the fit check, the real test begins. I introduce new masks during short supervised turnout sessions first, then extend to full days. Every evening I run a quick inspection: I look for stretched mesh, frayed binding, bent ear frames, and dirt packed into the seams. I wash masks weekly in mild soap and warm water, rinse thoroughly, and air-dry them flat so the shape holds.
Rotation matters too. I keep two masks in service at all times, which lets one dry completely while the other works and extends the lifespan of both. If a strap weakens or the mesh tears near an eye, I retire the mask immediately — repairs with twine or tape create abrasion risks I am not willing to accept.
Conclusion: A Repeatable System Beats a Random Purchase
Treating fly protection as a methodology — needs assessment, precise fitting, scheduled inspection, and rotation — has transformed how my horses cope with fly season. The mask itself is only one component; the discipline around it is what keeps eyes clear, skin intact, and insects at bay. If you adopt this process, you will spend less money, replace fewer masks, and give your horse genuinely reliable relief.