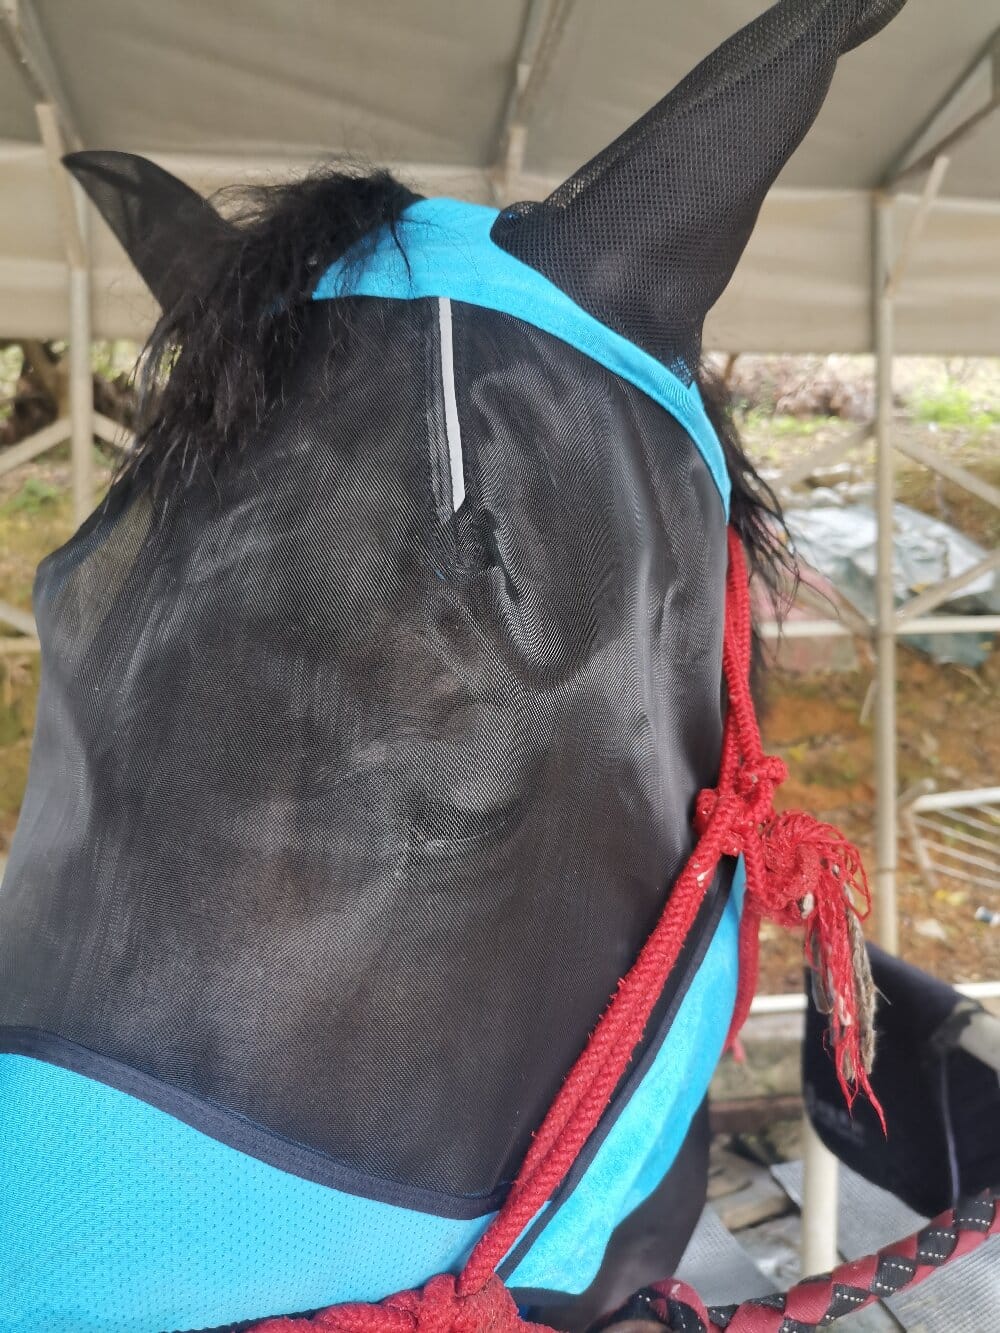

If you own a horse, you already know that face flies, stable flies, and other biting insects can turn turnout time into a miserable experience. That is why you need a horse fly mask, but buying one at random is not enough. You need a methodology—a repeatable, step-by-step process for selecting, fitting, and maintaining this piece of protective gear. In this guide, you will learn a practical framework that you can apply season after season.
Step 1: Assess Your Horse’s Specific Needs Before You Buy a Horse Fly Mask
No two horses face the same insect pressure. Start by observing your horse in its daily environment. Does it graze in a low, muddy pasture where flies breed? Does it have pink skin around the eyes or a history of uveitis? Does it rub its face raw against fences? Answer these questions first.
- Eye sensitivity: Horses with light-colored eyes or equine recurrent uveitis need a mask with at least 90% UV blocking.
- Ear coverage: If your horse shakes its head constantly, choose a mask with ear covers to stop flies from entering the ear canal.
- Nose length: Some masks extend down the nose. If your horse grazes heavily, a shorter muzzle piece reduces wear.
- Pasture vs. stall: Turnout in tall grass demands a tighter fit to prevent snagging.
By documenting these factors, you create a baseline that makes your next decision objective rather than emotional.
Step 2: Measure Correctly to Ensure the Right Fit
You cannot guess sizing. Use a soft cloth tape measure. Measure from the center of the forehead, just below the ears, down to the tip of the nose. Then measure the width across the cheekbones. Record both numbers in centimeters or inches. Compare them to the manufacturer’s size chart. Most brands offer cob, horse, and draft sizes. A loose mask will slide and cause rubs; a tight mask will press against the eyes. Aim for a snug but not restrictive fit.
After you receive the mask, test it for two minutes in a safe area. Watch for head shaking, attempts to rub it off, or visible gaps near the ears. If any occur, adjust the straps or return it for a different size.
Step 3: Establish a Daily Inspection and Cleaning Routine
Even the best horse fly mask fails if you neglect it. Insects, dirt, and sweat degrade the mesh. Follow this simple daily methodology:
- Remove the mask and check for tears, especially along seams and ear edges.
- Wipe the inside with a damp cloth to remove eye discharge and dust.
- Rinse the mesh under lukewarm water once a week. Avoid harsh detergents.
- Air dry completely before putting it back on. A damp mask grows bacteria.
- Rotate between two masks so one can be cleaned while the other is worn.
This routine takes less than five minutes per day and extends the product’s life by months.
Step 4: Combine the Mask with Other Control Methods
A horse fly mask is not a standalone solution. Use it as part of an integrated pest management plan. Apply a fly repellent to the neck and chest, use fly predators in the manure pile, and set up fans in stalls. When you combine physical barriers with environmental controls, you reduce the overall fly population rather than just protecting the face.
Step 5: Evaluate and Adjust Throughout the Season
Your horse’s needs change from spring to late summer. In June, a light mask may suffice. By August, you might need a heavier, UV-blocking model with ear and nose coverage. Reassess every two weeks. Ask yourself: Is my horse still stomping? Are there new rub marks? If yes, modify your approach.
Summary: Your Repeatable Methodology for Fly Season
Protecting your horse from flies does not require expensive trial and error. By assessing needs, measuring correctly, inspecting daily, combining methods, and adjusting over time, you turn a simple piece of gear into a reliable system. Start with a properly fitted horse fly mask, follow the steps above, and you will see a calmer, more comfortable horse throughout the warm months.